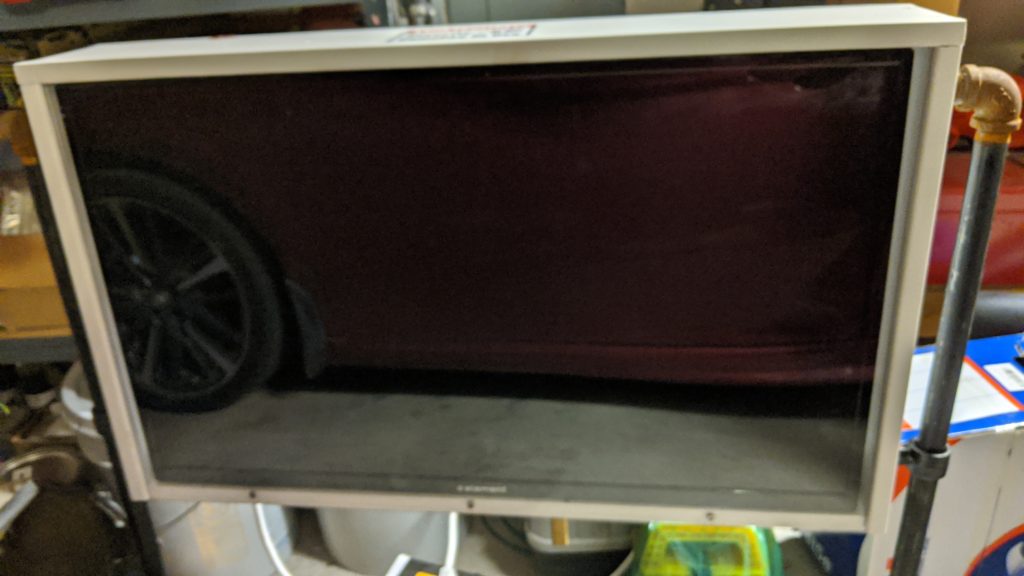
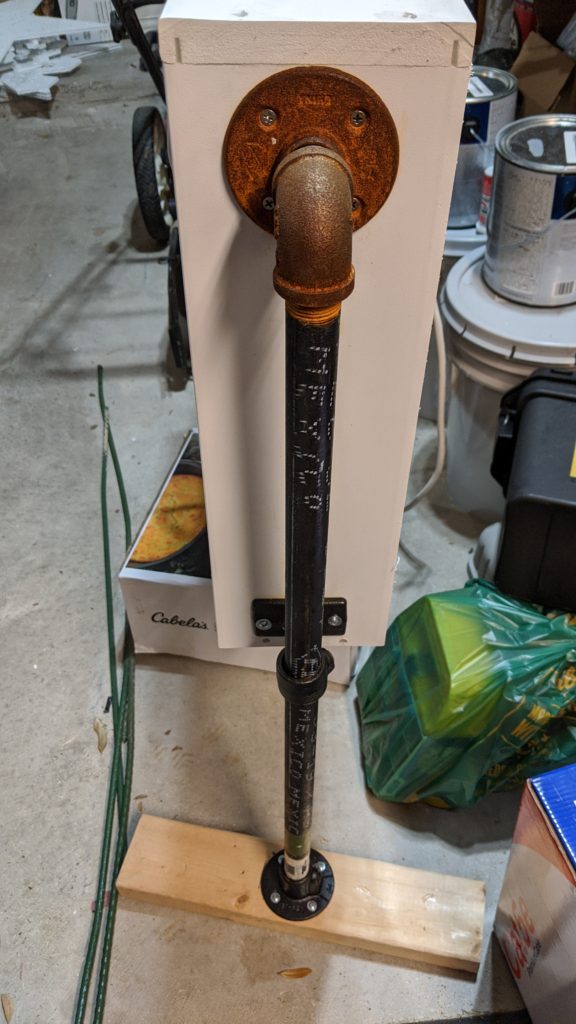
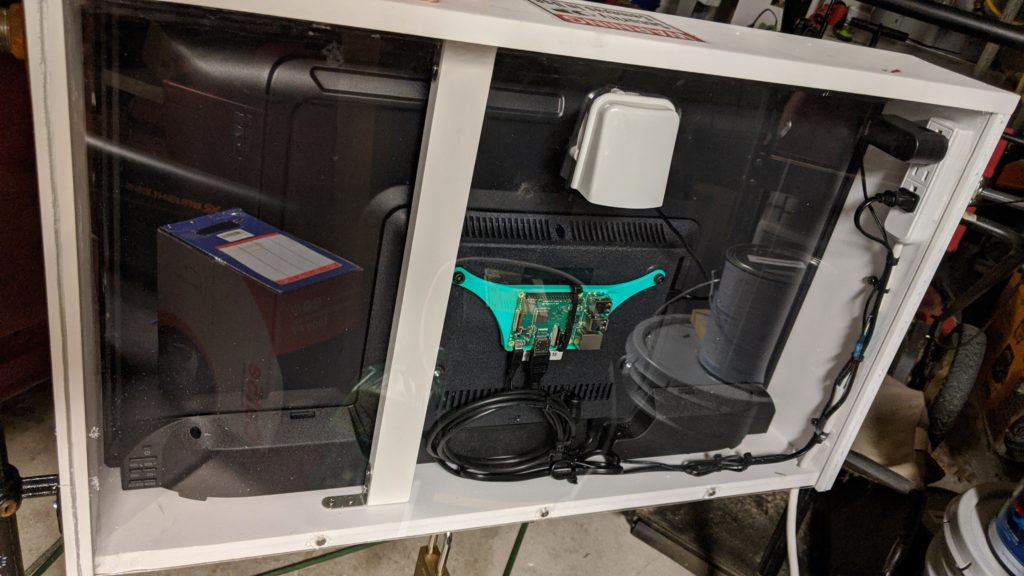
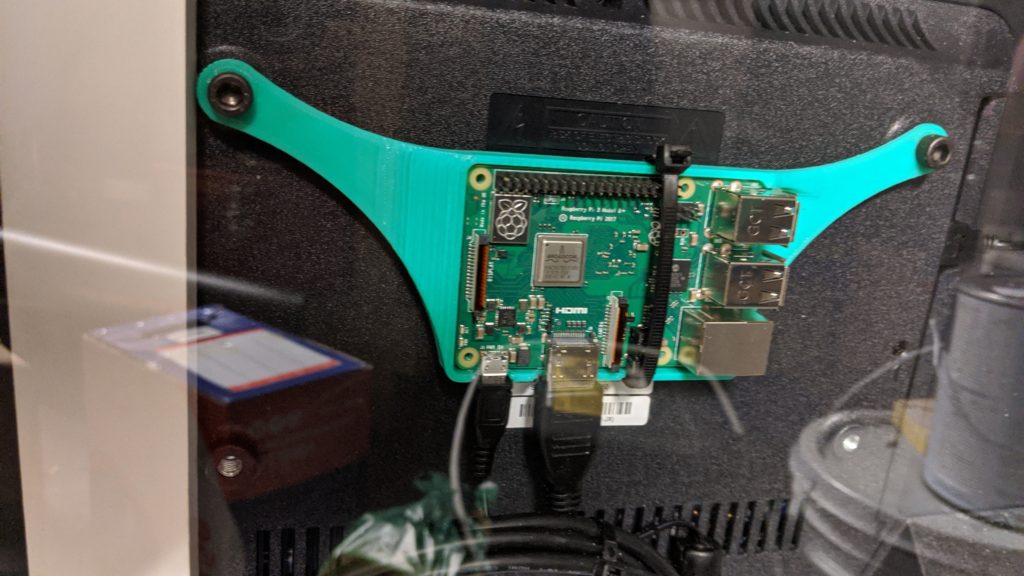
We have evolved our Tune-To sign from a hand written sign to a Pixel Matrix and ultimately to a TV. We thought about doing a P5 matrix, but found that with an inexpensive TV we could do everything I wanted, so we just went that route. I have the materials below and some photos as well. If you have questions or need more details on any of the steps, please contact us and we would be glad to help. Happy lighting!
Parts Needed:
- Non-smart TV with HDMI CEC (may go by other terms, but basically it needs to be able to be turned on and off via HDMI commands – may need to enable auto on in the menu for example)
- Raspberry Pi 3B or greater – others may work, but if you use big video files I find these work well
- Micro SD to install FPP
- 1×6 PVC Planks to build the enclosure
- Caulk
- Lexan with UV Coating for the front. Wood, lexan, or coro can be used in the back. Big box stores or sign companies have this. Lexan is good because it is very strong.
- Surge Protector
Optional Components:
- 3D printed Vesa Mount for the Raspberry Pi
- Bud Box Vent
- 5V USB Powered Fan
- Padlock mount on the bottom to lock to a cable or other immobile object
Step 1: Install FPP on the Pi
Install and test the latest version of FPP on the Pi. The latest images are located here along with more details on the FPP software: https://github.com/FalconChristmas/fpp/releases/
Step 2: Test that the Pi can turn the TV on and off
After installing FPP you will want to install CEC utilities and test that it is working with your TV. This will allow you to create a script that can turn the TV on and off for the show. That way the setup is fully automated. The CEC utilities allow you to use HDMI-CEC commands, and it works best on non-smart TVs. For more on the install I started a thread on the Falcon Christmas site at the link below, and the text after the link goes over the process: https://falconchristmas.com/forum/index.php/topic,11175.msg100190.html#msg100190
To get additional details on creating script files, see our overview on Creating, Loading, and Running scripts in FPP.
Step 1: SSH into the FPP and run the following command to get the CEC
Utilities.  You can also SSH in by going to the HELP > SSH SHELL menu
in FPP:

sudo apt-get install cec-utils

Step 2: Now that it is installed, connect the HDMI cable to the TV and
run the following commands to turn the TV on or off.

To turn ON the TV type:
echo on 0 | cec-client -s -d 1

To turn OFF the TV type:
echo standby 0 | cec-client -s -d 1

Step 3: Create script files that you can call from within FPP to
automatically turn the TV on and off when needed:

The Turn-ON.sh file has the following 2 lines:
#!/bin/sh
echo on 0 | cec-client -s -d 1

The Turn-OFF.sh file has the following 2 lines:
#!/bin/sh
echo standby 0 | cec-client -s -d 1

The commands were found at the following site along with a few other notes.
https://timleland.com/raspberry-pi-turn-tv-onoff-cec/
Step 3: Build the box to hold the TV
After confirming the TV turns on and off with the Pi, use the 1×6 PVC boards to build a simple frame that fits the TV. I then cut a groove in both sides of the boards to create a channel to slide the Lexan in and out. Doing this also reduces the need for Caulk. You can also just place the Lexan on the outside and screw it to the face of the box then add caulk. This works fine too. I measured so that the front of the TV butts right up against the back of the lexan so that there is more space behind the TV to mount components. I had to connect a vertical piece in the back to help secure the TV and to get rid of some bow in the planks
Step 4: Mount the components inside and legs for the outside
Mount the surge protector and plug in the components. Affix the Pi to the optional 3D Vesa mount or just affix to the side of the case you built. Mount it somewhere that is easy to get to should you need to replace the SD card, etc.
Affix floor brackets and iron pipe on the sides to create legs for the box. You may have a better way, but this worked for me. Since it rusted last year, I plan to cover the iron pipe with white PVC tubes with red tape so it looks like candy cane poles holding it. That will hide the rust, but in the dark no one really notices anyway.
Step 5: Add a vent if you are in hotter climates
I added a hole in the back Lexan to mount a bud box vent and USB fan. This is useful in hot areas as the fan runs anytime the TV is on. I probably don’t need it since it stays cool enough, but it’s there anyway.
Step 6: Load video files or any animation for your sign
I have about 5 video files with various Tune-To animations that just run on a loop. They are video files that run continuously until I turn the TV off.
Step 7: Set up your schedule
I am working to have my master Pi fire the scripts, but in the absence of that here is the order that I do things in my schedule on the Pi for the TV, and it works great:
- Run Turn-ON.sh (to turn on TV)
- Loop all video files continuously
- Stop loop of files at end of show
- Run Turn-OFF.sh (to turn off TV)


